Tuesday, November 6, 2012

The Saga Continues: Green Dress Version 2.0

Chopped in half!
I then proceeded to shorten the organza skirts and soak the bodice in acetone to remove and clean the stones. Gas mask highly recommended for anyone attempting.

Attached to new bodice!

New sleeves. Pleating fine net was a bad idea.

Sleeves AND feathers!

Sleeves and feathers and me!

Belt in process.

I believe this was a total of 21 sew on stones and approximately 10 gross of flatbacks

Front feather rhinestone detailing

Front showing bodice stoning
Bra cups are only pinned in still.
Front side with belt, sleeves detached to stone

Skirt detail


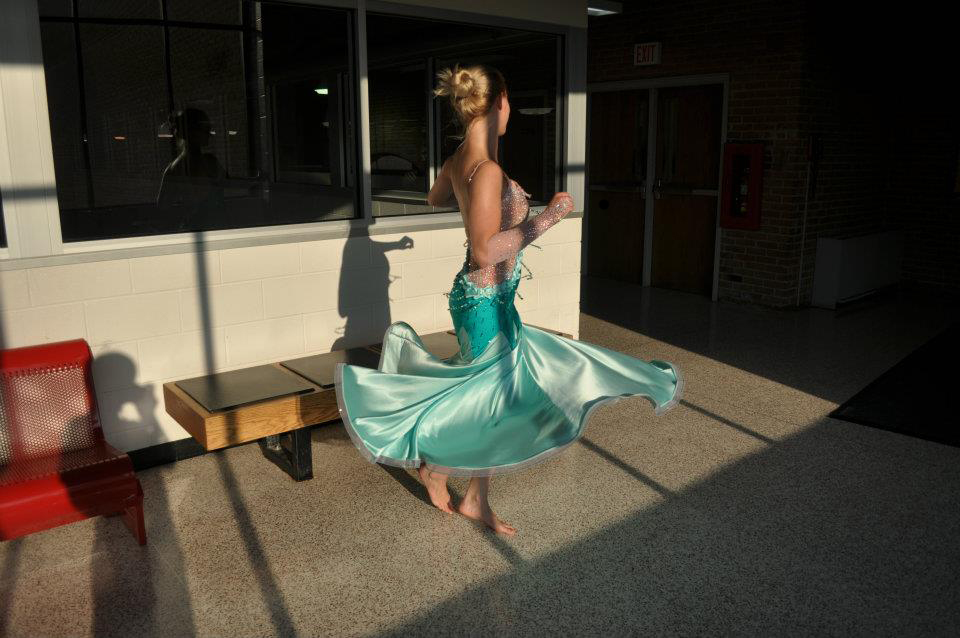
And in motion! I actually remembered to sew in the bra cups so the pins weren't stabbing me the whole time.

Monday, October 15, 2012

Green Standard Dress Version 2.0

I made the mistake of hanging my green standard dress on my closet door not in a garment bag for a while. After seeing it every night when I went to sleep and every morning when I woke up, I began to notice more and more mistakes and imperfections. Like Frankenstein, my creation stared at me and reminded me of everything I had done wrong again and again.

So it came to the point where I decided I needed to fix it.

My initial plan was to just restone it and hope that would solve a lot of the more glaring mistakes. I attempted to soak the dress in warm water, then tried washing it in the washing machine on warm (in a sewn shut pillow case) and still had not lost a single stone. Apparently I did a really good job with the gluing first time around. I know that acetone will remove the stones, but that means ruining the lycra underneath. As I was ordering fabric for the new pink standard dress, I decided to order a yard of lycra and some extra chiffon in the apple green, since it it now all on clearance. In the meantime as I started working on the pink dress, I realized I did not have enough organza and crinoline trim to do what I wanted with the underskirts. Since my parents will be in London in the next month, I am going to have them bring me more fabric to save the cost of shipping.

This meant that I still needed a dress for DCDI though, and I was not happy enough with the state of the green one to wear it. So I began working on the remakes, version 2.0, of the apple green standard dress. After only two days of work, here is the state:
The pink is just the other dress underneath,  I was too lazy to take it off.
I am going to be taking the organza skirts from the old version and adding them as the bottommost layer of skirts in addition to this layer here. I haven't worked up the courage to actually cut them off the other dress yet though. There's no going back then.

After a third day, the back seam is now sewn, the bodice has the elastic sewn in, and it has tan straps. I have decided to do high mesh gauntlets instead of sleeves with a lycra top, and hang my floats from them. More to come later, but there will be feathers!

Tuesday, October 9, 2012

Pink Standard Dress in Progress

I've been terrible about taking pictures of this as it goes, but here are a few in progress.
Here you can see the underskirt pinned to the dress form with the bodice and overskirt pinned to the front

The view from the front

Friday, September 7, 2012

New standard preview

If I weren't so dead tired already (it is almost 2 am now) I would be diving on in, but the effort to move is greater than my desire to sew. But here are some pretty pictures to give you an idea of the things to come!


Monday, July 30, 2012

A little mesh, rhinestones, glue, and some clear silicon sealant.

I wanted to make a necklace to go with "Princess Jade" (as I am now going to refer to my new dress) and I tried out a new technique using silicon sealant.


Materials:
Clear silicon sealant (I believe this was purchased at home depot or the like, it was just sitting in our garage so I'm not 100% certain)
Stretch net/powermesh in the color you want, about 5 pieces big enough to contain your design
Popsicle stick
Mat/board to work on, don't get silicon sealant on anything
Rhinestones
Rhinestone glue
Scissors
Optional: I'm told silicon mold release will protect your work surface, I just used an old cutting board and didn't let it sit long enough to bond to it


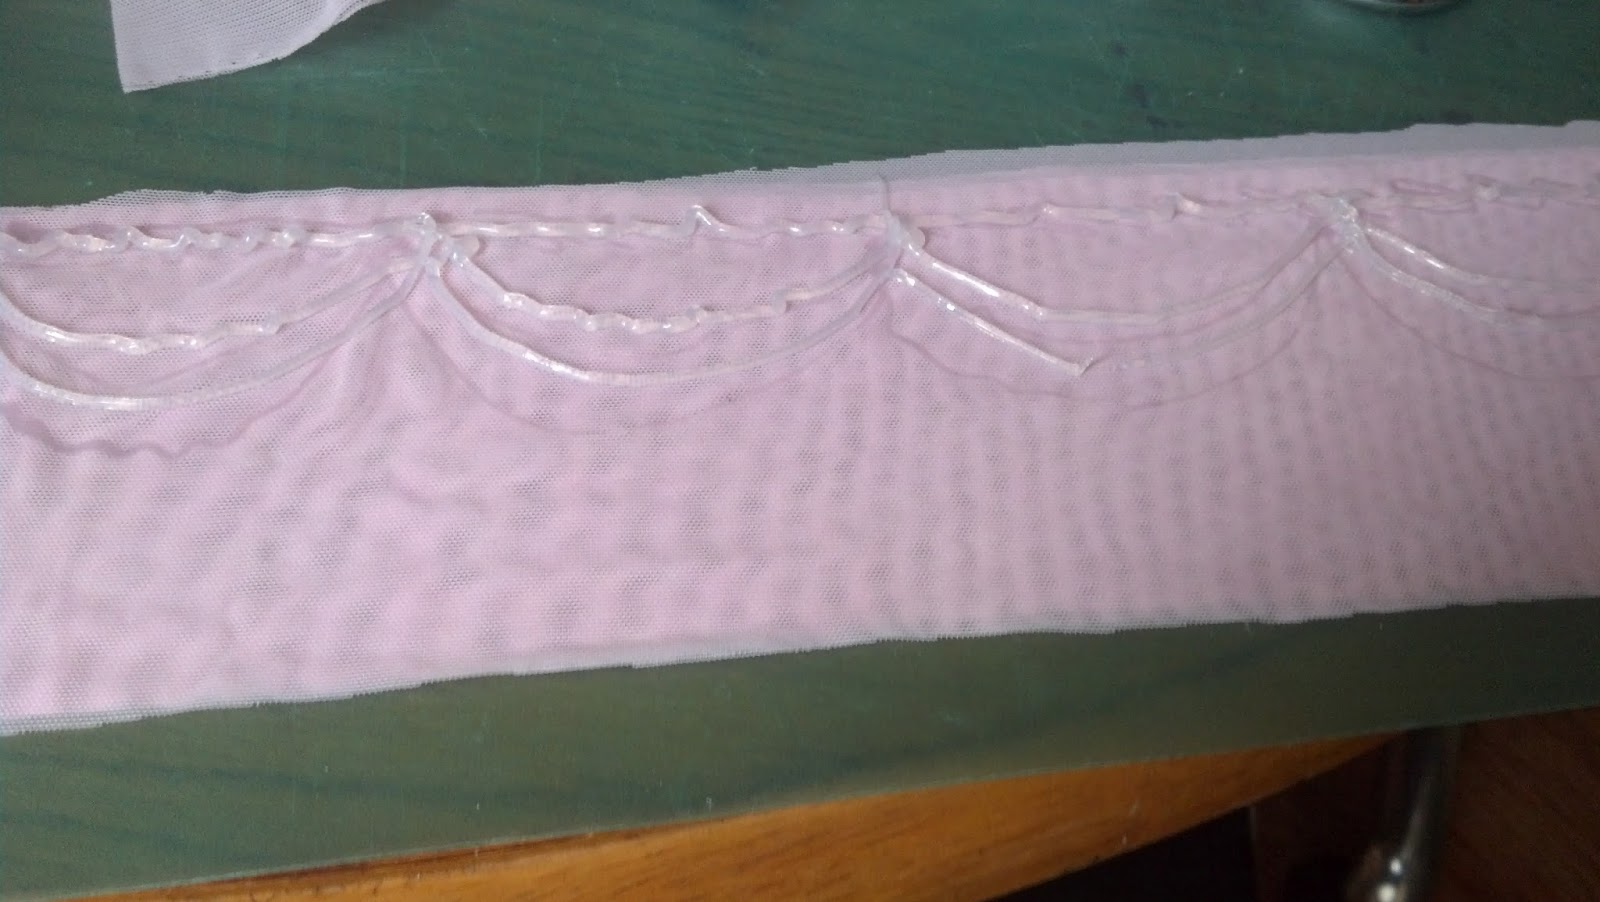
 I began with two layers of net and used the silicon sealant to begin to trace out the pattern I wanted the fabric part to take.

I added another layer of mesh on top and using a popsicle stick, smoothed the silicon into the fabric. This will be sticky, it will be messy, and it will smell like vinegar. The silicon releases acetic acid as it cures so don't leave it on your skin. Starting with two layers on the underside kept it from sticking to the mat. Repeat this step, adding a layer of silicon then a layer of net, until your piece is about 5 layers thick. By this point, mine had some good body to it and seemed to be able to hold up well. I believe I left this overnight to cure, though not because it necessarily needed it. If it's still sticky, let it be, if you feel like you can handle it, continue to the next step, which is:

Cut out your shape. I decided to go with a pretty basic shape for my first one and made a scalloped kind of shape. Sharp scissors and slow going are indispensable at this point. Take your time, you'll be glad. After that I used the silicon sealant one last time on the back to give it that kind of rubbery backing that I remember a lot of ballroom jewelry having. Let dry.
The fun part: stone that sucker.

After it the glue is totally dry, trim the excess fabric.

I haven't actually gotten to this step yet, but then I'm going to attach a hook and eye closure to the ends to keep it together.

Fin.

Wednesday, July 25, 2012

Jade, pink, and mint green dress status: completed!

I need to start naming my dresses. Jade, mint green, and pink is too much of a mouthful. I think I shall name this one "Princess Jade" since I think it looks like a princess dress.

On to the part you're really looking for, pictures of the completed dress!

Front full


Back full
Back close


Front close
Front right side
Hem

Spinning!
Spin spin spin!

Thank you to Jon Tongco for taking the pictures!


Stoning in progress shots

So this dress is done and has been for some time now, but I've been having trouble getting a good picture that I feel captures it. I had a friend take a few at practice a week ago, so as soon as I get them from him I'll post them, but here's some in progress stoning shots I took with my cell.