Tuesday, July 23, 2013

Aqua and lime dress update

So I have failed miserably at keeping track of the time spent on this dress. I was using an online stopwatch and the tab closed, resetting it. It was around 16 hours at that point and that was when I had just started sewing godets into the top skirt. I estimate that since then I've spent about 6 more hours putting the remainder of the godets in, making a pistachio chiffon underskirt with a fishing line hem, and now I am working on a turquoise organza underskirt. This one is going to be detachable so I can use it for another dress I've got in the planning stages. It will be crinoline trimmed and as of now, is at 4 full circles (though it starts low, around the knees. I'm trying to get that big fluff out at the bottom going).

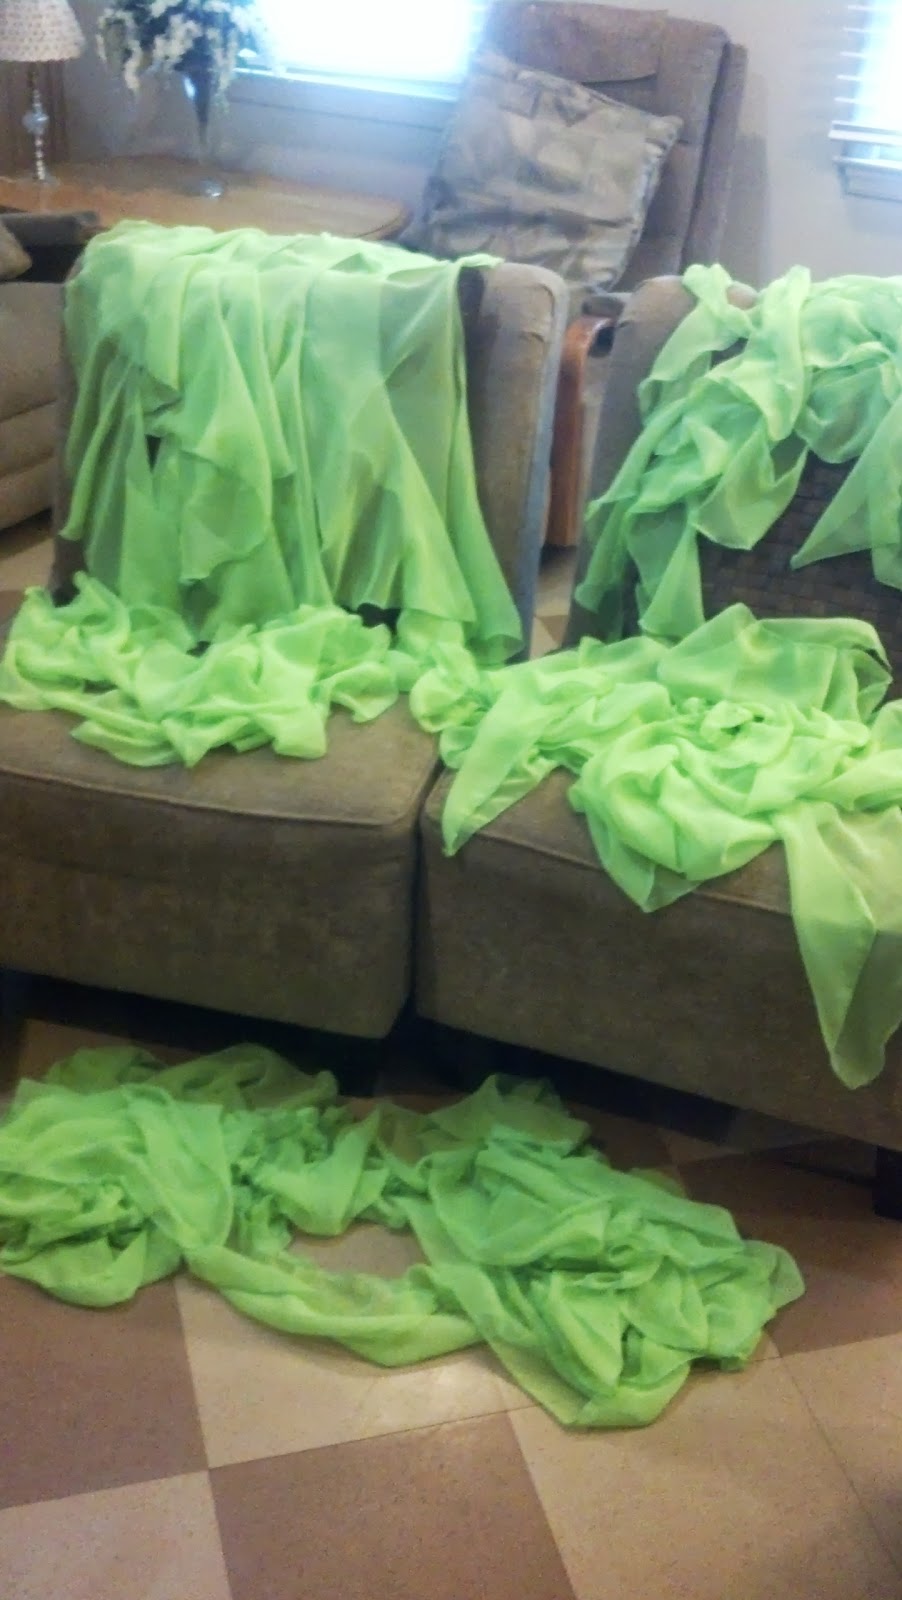
When I last left you guys I was just finishing pattern drafting. I have since made the bodice, bodysuit, and inserted the mesh side panels. I'm afraid I didn't get any pictures of that before I started inserting the skirt panels. The top skirt is made of 6 quarter circles with circular ruffles on the edges and a gathered ruffle at the bottom. There are a lot of ruffles, and for a while my sewing area looked like a green dress had just exploded everywhere:


This is all of the ruffles organized by type, there are 5 different kinds, small, medium, large, double length small, and giant gathered ruffle for the hem (see pile on floor).

The best way to make a super long (500 inches!) ruffle is to zigzag stitch over a heavier thread. Due to the length, I cut my heavy thread at a couple places so I could adjust individual sections more easily as I attach it to the rest of the skirt.


This is a single skirt panel with the 3 ruffles (small, medium, and large) basted to it. I was going to pleat the double length small ruffles and top stitch them to the one side of the panel, but I think that might be too much ruffle now that it's coming together.


Two panels inserted!


Here's the dress with the top skirt finished.


The first underskirt, chiffon with fishing line trim. 12 quarter circle panels


After stitching them together, I staystitched the top and pinned it to the back of a chair to let the bias settle out. Trimming these bits is much like giving a haircut, trim to the shortest bit and make it all even.


This was my first time doing a fishing line hem, not as hard as it might seem, but more difficult than crinoline. I used my serger with these tension settings:


Every once in a while the fabric will start to bunch, usually if I'm going too fast or holding the line too tightly.


Pushing the line through though will "inflate" these curls and get rid of the bunching. This is easier if you catch it sooner or you'll have a lot of fabric to try to move the line through.


I inserted the line between the needle and the blade. After it gets started, it pretty much takes care of itself, as long as it isn't getting too tangled. This is a case where a light touch makes it go so much better. Gently guiding the line rather than trying to push or pull it worked best. Moderate speed also gave the line enough time to get moved by the feed dogs at the same pace as the fabric.


When I had only 10 inches to go, I sliced through the line for the first time. Sad face.


Fixing it is no big deal though, I overlapped the new line with the old by a couple inches and just serged over it.


And here's the underskirt complete with fishing line! I like the curl the 40 lb line is giving to the chiffon.


Wednesday, May 22, 2013

Ready, set, sew!

Summer has come, classes are done, I'm a college grad, and that means I have time to sew again! For fun that is. I've been doing lots of sewing in my advanced costume construction class, and have learned so many new things which I hope to apply to my dresses in the future. One of the biggest being: understitching. This is a magic process in which you stitch layers of seam allowance to a facing or lining, thereby keeping them neat and tidy tucked away without stitches showing on top. Works like magic, makes a garment look very professional.

The title of this post was inspired by the fact that I never seem to know how much time it takes me to make things. I've always been terrible at estimating times, which often results in late nights frantically finishing homework, projects, commissions, etc. So I have decided that as I make this ballgown, I will be starting and stopping a stopwatch with each time I start or stop progress. This should also make me blog more regularly, since I can record the times in here in case the stopwatch website decides to eat them for some unknown reason (mainly, computers are evil). I can't include time thinking about the project, since I'd be starting and stopping the stopwatch all the time, but I will include the time spent patterning, drafting, tracing, cutting, sewing, embellishing, fitting, stoning, etc etc etc (blogging not included). I will preface each post/segment with the times spent and then underneath say what I did in that time. For some of you, this may show you just how much time I waste tearing things out, but the other seamstresses out there will understand.

So, ready, set, SEW!

(00:00:00-00:29:03)
Pattern drafting! This design is going to have some slight modifications to my basic pattern I used in my previous two dresses (Ariel and Aurora) most importantly, a mesh panel cut out of the side, similar to this dress:

This means redrafting the pattern to accomodate this slicing and drafting a new piece for the mesh insert. Enough talking about the design though, here's the sketch of the idea:

Front
Back, showing floats
The skirt is highly textured, featuring ruffles, pleated ruffles, and gathers at the bottom. It should be a lot of fun, both to make and to wear. And here's the bodysuit pattern showing big gaping hole where mesh goes! The actual mesh piece won't be that big since that also accounts for body curvature, but it also shows how I've arranged some appliques that I may use around those areas, they will have to be dyed to match first though.

Wednesday, March 6, 2013

Sugar pink and spearmint: completed!

I debuted my new pink and spearmint dress at BAMJam this past weekend. (Photo credit to Ankith Gunapal) One of my friends said the green dress is like "Ariel" from The Little Mermaid and this one is "Aurora" from Sleeping Beauty. I'll take it.


With my wonderful rookie Patrick. You can see the belt best in this picture.
I also did not tan for this competition, and I think with the colors of the dress, it might work. It's a much more "classic princess" pale look.
Jon is so smiley :)


This dress went through a process before I finally decided it was done, there seemed to be something missing though. It lacked that focus and that little oomph to make it seem complete.

I tried adding a little stoned design on a piece of lycra to the front, but even before it was done I could tell that wasn't it.

Then I toyed with a wide, underbust corset/wide belt kind of thing with beading. using that same stoned piece as the center


I ended up ripping out the beading, but still wasn't happy with any of the ideas I came up with for designs.


I tried some little leaf motifs to keep with the rose lace theme, but even that was meh.

So it was the day before the competition and I still wasn't happy with what I had and I had already promised to rent out my other dress to a friend, so I had to wear this one. In the afternoon I decided that maybe it didn't need something huge and ostentatious, maybe a simple thin sparkly belt in the chrysolite (mint green) would do the trick. And the more I thought about it, the more I liked it. I decided to make a 1" fully stoned belt in the chrysolite (spearmint).
Belt making!
I learned something very useful in my costume construction class lately that relates to covering elastic in fabric, particularly a kind of slippery, thin fabric like this dance crepe. If you place the side that wants to slip around more against the feed dogs, they will manage the fabric better and evenly send it through the machine. The result:

A beautiful flat seam, just ready to by trimmed back and stoned. I added a couple snaps, sewed on some big stones, and then set off stoning. I made a little motif for the center front and then started filling in with the 16 ss chrysolites. At some point, I realized I wasn't going to be able to sleep and finish completely stoning the belt. I decided to just do a bit in the front and in the back and taper to points on the sides. I added some sew on stones to the back and then the chrysolites.


When all was said and done, it was a little too loose and didn't sit right at my waist, but a little on my hips. Before my next competition I'll be making it smaller and finish filling in the rest so it's completely stoned.


I also started making a necklace to go along with the dress, but it also wasn't finished by BAMJam. This is a piece of baby pink stretch net attached to some cappuccino dance crepe with some clear fusible web I found at Joann's. I cut a little piece out of an index card to use as a stencil so I could make the sew on stones evenly spaced and symmetrical, but I managed to make it lopsided anyway. Oh well, can't tell unless you're looking for it.


More stones to be added, including some pendants and maybe some pearls!

ETA: Snow day means finished the belt today!

Also reworked the necklace to make it on the straight edge (more choker like) hopefully it'll sit nicely on my neck once it's all cut out. More to come on that still.

Friday, January 11, 2013

Ice Cream Dress Update!

 I wasn't going to share these pictures until I had worn the dress, but I'm not sure when I'm going to be wearing it next now, so I decided to share them anyways.

Apparently I really like this color.

Top skirts and bodice, before hemming. You can see the band that the underskirts will connect to.
Hanging underskirts on the back of a chair to let them stretch before hemming.
Something I didn't know when I made my first couple dresses was that you need to let skirts that are cut on the bias hang and stretch before you hem them. Parts cut on the bias will stretch out a lot more than portions cut on the straight of grain or cross grain, so to make sure your skirt stays even for years to come, let it hang to let those parts stretch out first. I've heard a week is recommended to hang, but you can speed up the process by adding clothespins along the bottom edge.

 
Here's the dress after I hemmed the topskirts, attached the crinoline to the underskirts, and sewed them in. I made a couple ruffles which are attached to the neckline and form the sleeves. I didn't get any pictures while I was making them, but they're easy to make using a donut shaped stencil. I'll have to make a post about that later since it's much easier to explain with pictures. I made some more ruffles to put on the skirt then, alternating green and pink on each godet.

I ended up bringing the underskirts up a little bit, shortening them and evening them out a little bit so the green doesn't shown under the pink when standing still. Next stage is making the floats and stoning. The plan is to stone the lace like so:

Thursday, December 27, 2012

Pink and spearmint dress update

Hello all! Been busy working on my pink and spearmint dress (which I affectionately refer to as my "ice cream" dress, since the pink looks like strawberry ice cream, the spearmint looks like mint ice cream, and the tan looks like coffee ice cream, and maybe I'm just a little too hungry when I sew...) and I've gotten a lot done in the last few days. I've sewn the top layer of skirts to the bodice, and I'm quite proud of how it turned out. I used my serger to properly finish the seams, and they look very nice and professional. Sewing points into a cavity is infinitely trickier than it sounds like it should be, and I had a lot of trouble with it until a) I looked at a friend's dress to see how it was done, and b) I took the time to actually hand baste it in place. The trick is to get very close to the edge of the stretchy top fabric that's the concave part you are sewing the point into. This is much easier when you're not dealing with pins and it's hand basted.


Yay for sergers and nicely finished seams so they will stop unraveling!


After finishing the godets, I made the bodysuit and basted it to the bodice. In a super blonde moment, I made the bodysuit tan, instead of the pink I had intended, so I'm going to have to change my plan a little bit. In the end, I think my subconscious knew what it was doing though, cause I think this will turn out better in the end. I also made some elastic straps, which are covered in the cappuccino dance crepe, and are now wonderfully soft and will be the right color for when I'm in comp tan. These are really easy to make, some day I'll make a tutorial for it, since the technique could be expanded for making those arm bands that floats are often connected to (which is probably what I'm going to do for the floats on this dress).


And now I'm working on putting the zipper in. More pics to come once I can actually wear it!

Edited to add: Zipper is in, and thank God, it fits! It's tight, but nice and snug. Phew. Was worried there, this lace doesn't stretch as much as the lycra does.

Sunday, December 23, 2012

Swarovski Bangles!

These are so much fun to make, I can get them done in a few hours and the sparkle:time ratio is wonderfully high. I made these for a silent auction, but if you know anyone interested in some, let me know: $25 for one, or $40 for a pair, many colors.

Blue zircon and Aquamarine mixed bangles
Blue zircon and Aquamarine mixed bangles
Sun (orange) and Sapphire Bangles 

Tuesday, November 6, 2012

The Saga Continues: Green Dress Version 2.0

Chopped in half!
I then proceeded to shorten the organza skirts and soak the bodice in acetone to remove and clean the stones. Gas mask highly recommended for anyone attempting.

Attached to new bodice!

New sleeves. Pleating fine net was a bad idea.

Sleeves AND feathers!

Sleeves and feathers and me!

Belt in process.

I believe this was a total of 21 sew on stones and approximately 10 gross of flatbacks

Front feather rhinestone detailing

Front showing bodice stoning
Bra cups are only pinned in still.
Front side with belt, sleeves detached to stone

Skirt detail


And in motion! I actually remembered to sew in the bra cups so the pins weren't stabbing me the whole time.